Free Butterfly Ranunculus Flower Crochet Pattern
Skill Level
Beginner
Estimated Time
1 Hour
Pattern Type
Crochet Flower
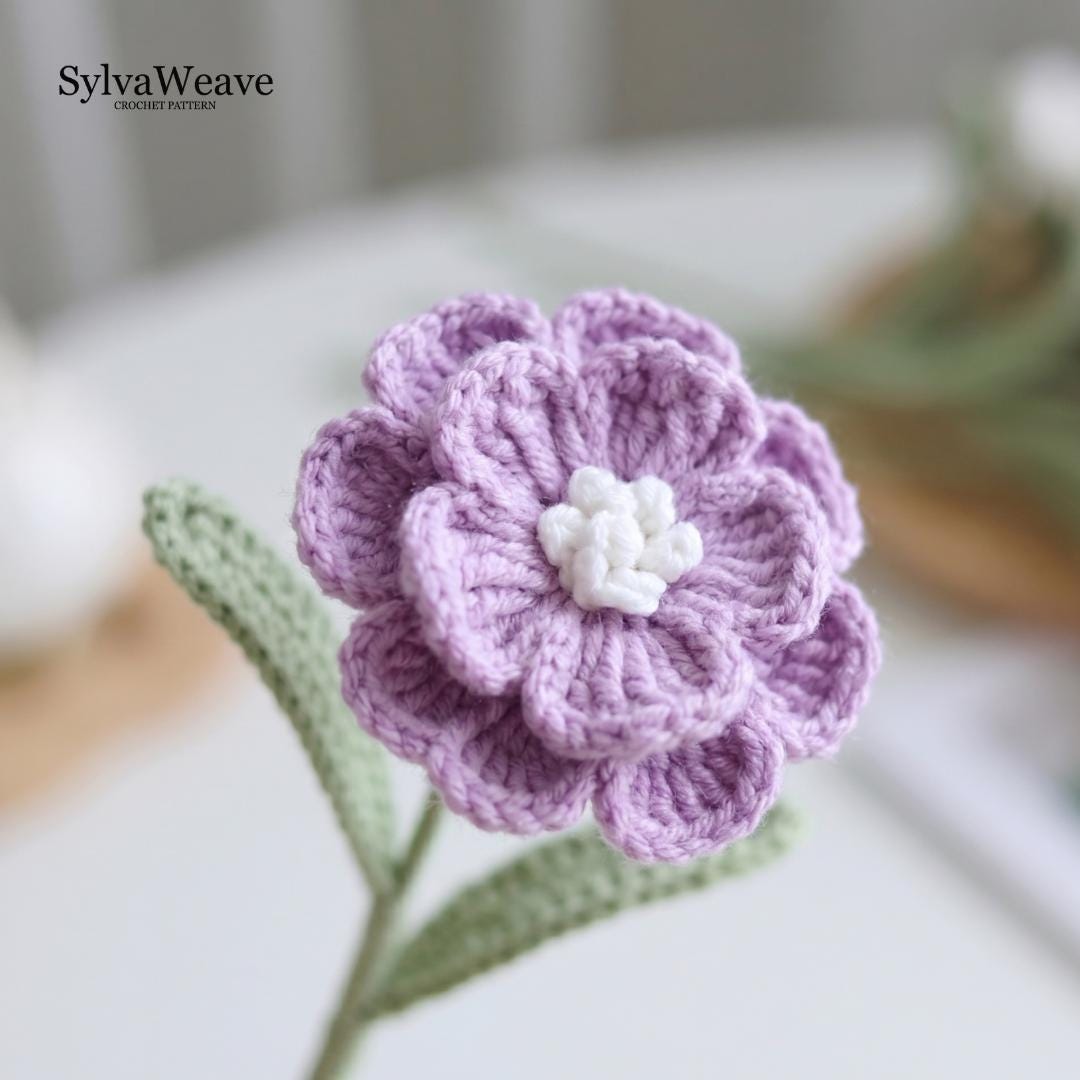
Create a beautiful, realistic crochet flower with this free Butterfly Ranunculus crochet pattern. This step-by-step tutorial shows you how to crochet the layered petals, textured flower center, green flower base, wired leaf, and stem to create a delicate handmade ranunculus.
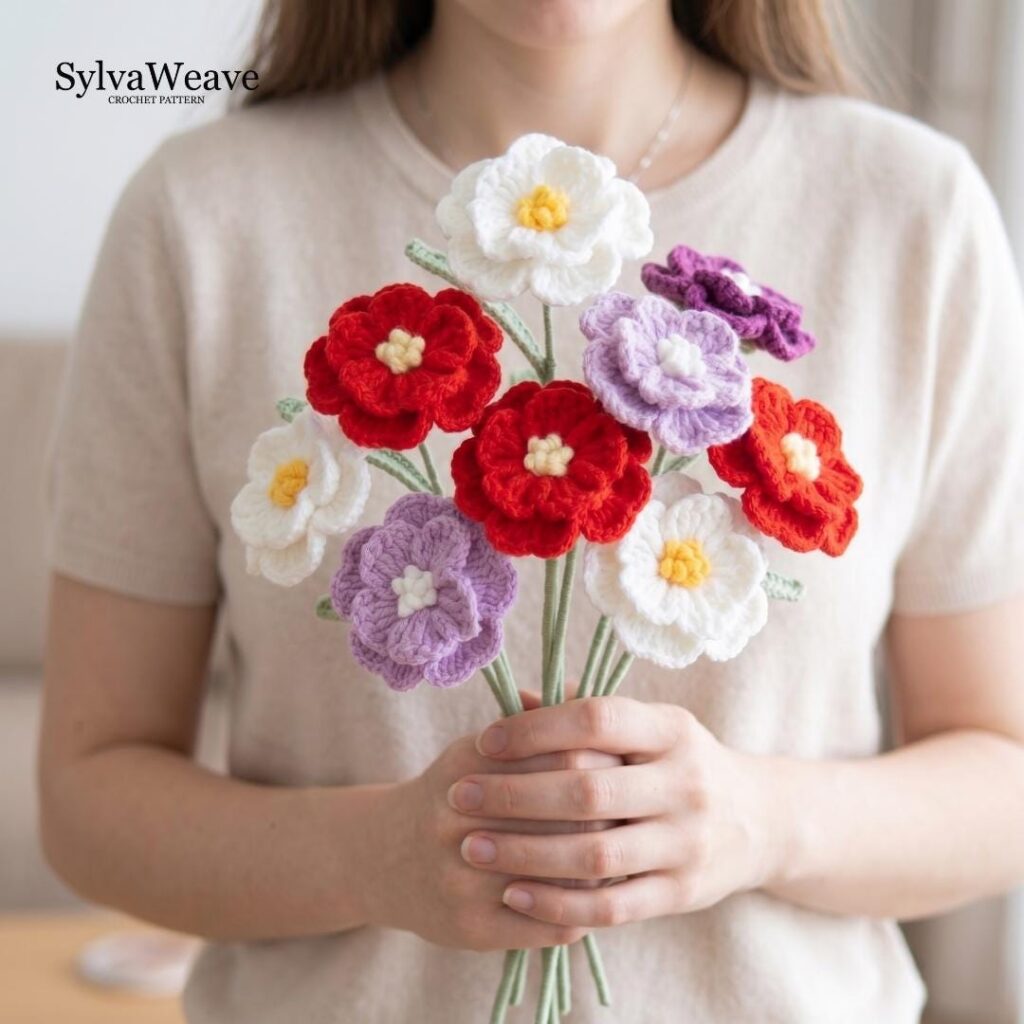
The pattern includes detailed written instructions, progress photos, crochet abbreviations, materials and tools, assembly guidance, and a full video tutorial to help you follow each stage of the project. The finished crochet ranunculus is perfect for handmade flower bouquets, floral arrangements, home decor, handmade gifts, or adding to your own crochet flower collection.
Whether you are making a single flower or building an entire crochet bouquet, this free crochet flower pattern will guide you through the complete process from individual petals to final assembly.
🌷Pattern at a Glance
| Pattern Details | Information |
|---|---|
| Pattern Name | Butterfly Ranunculus |
| Pattern Type | Crochet Flower |
| Skill Level | Beginner |
| Estimated Time | 1 Hour |
| Crochet Terms | US Crochet Terms |
| Main Technique | Crochet with wired flower construction |
| Construction | Petals, flower center, base and leaf are crocheted separately, then assembled on a yarn-wrapped stem |
| Finished Project | Realistic crochet Butterfly Ranunculus flower |
| Best For | Crochet bouquets, floral arrangements, home decor and handmade gifts |
| Written Pattern | Included |
| Step-by-Step Photos | Included |
| Video Tutorial | Included |
| Hook Size | 2.0 mm or 2.5 mm |
| Yarn Type | 4 ply cotton yarn |
| Flower Rod | 25–30 cm long and 2 mm thick |
🌻About This Butterfly Ranunculus Crochet Pattern
This pattern creates one Butterfly Ranunculus stem with a full layered flower, a small contrasting center, a green flower base, and one leaf. Choose your own yarn colors to make a realistic flower or a completely imaginative bloom.
Please note: This pattern is for personal use only and may not be copied, shared, redistributed, or sold without permission from SylvaWeave. If you come across someone copying, sharing, or selling this pattern without authorization, please let me know at info.sylvaweave@gmail.com. As a thank-you for helping protect my original designs, I’ll be happy to send you a FREE SylvaWeave Flower Pattern.
🧶 Materials and Tools
- 4 ply cotton yarn
- 2.0 mm or 2.5 mm crochet hook
- Hot melt glue
- Scissors
- Needle-nose pliers
- Stitch markers
- Flower rod, 25-30 cm long and 2 mm thick
- Wire, 0.2 mm or 0.3 mm thick
I also offer yarn suitable for this project, which you can have a look at here. However, you are also welcome to use any yarn compatible with a 2.5 mm crochet hook. Different yarn types may create slight variations in texture, structure, and the overall appearance of your finished flower.
📖 Crochet Abbreviations
- MR – magic ring
- ch – chain
- sl st – slip stitch
- sc – single crochet
- hdc – half double crochet
- dc – double crochet
- tr – treble crochet
- dtr – double treble crochet
- inc – single crochet increase
- FLO – front loop only
- BLO – back loop only
- FO – fasten off
Butterfly Ranunculus Video Tutorial
Follow the video tutorial alongside the written pattern. The yarn colors shown in the tutorial may differ from the finished sample.
Free Butterfly Ranunculus Crochet Pattern
Crochet the Butterfly Ranunculus Petals – Make 1
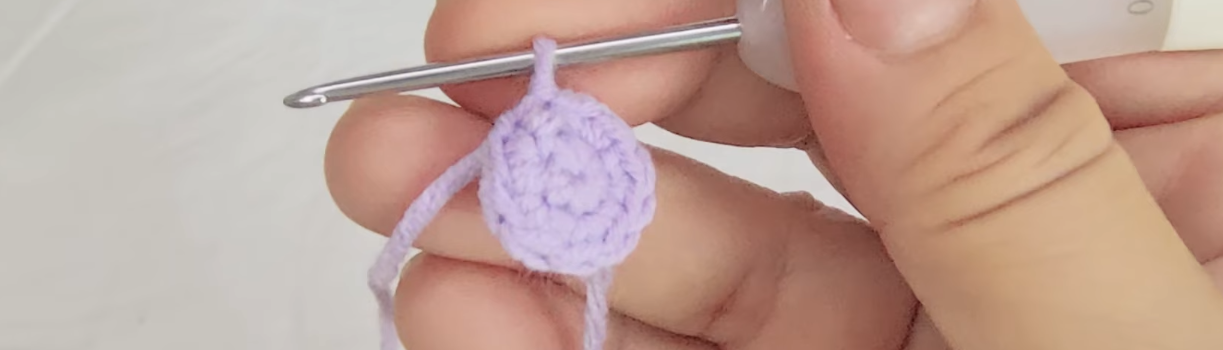
- Round 1: MR, ch 1, 5 sc in MR, sl st. (5)
- Round 2: Ch 1, inc x 5, sl st. (10)
- Round 3 (FLO): {Ch 4, tr inc, tr inc, ch 4, sl st} x 5.

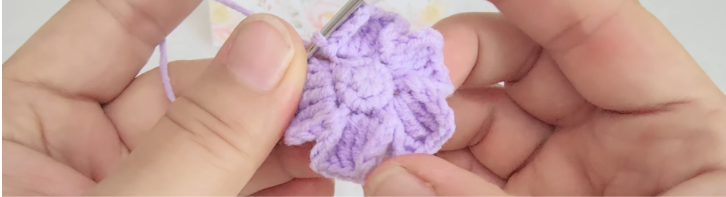
- Round 4: {Ch 5, sl st on top of tr, {ch 3, sl st in the next top of tr} x 3, ch 5, sl st} x 5.
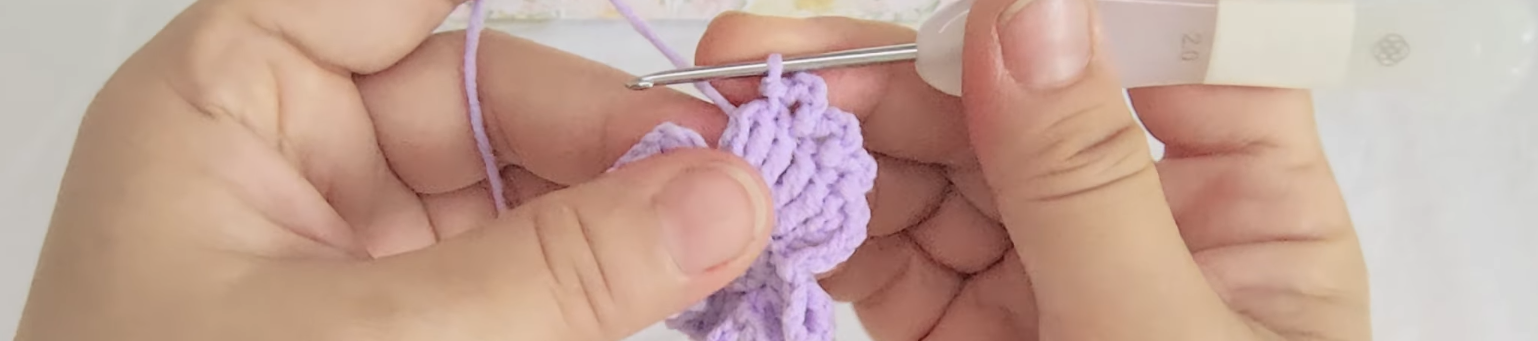

- Round 5 (BLO of Round 2): Ch 1, {sc, inc} x 5, sl st. (15)
- Round 6: {Ch 4, tr inc, dtr, tr inc, ch 4, sl st} x 5.
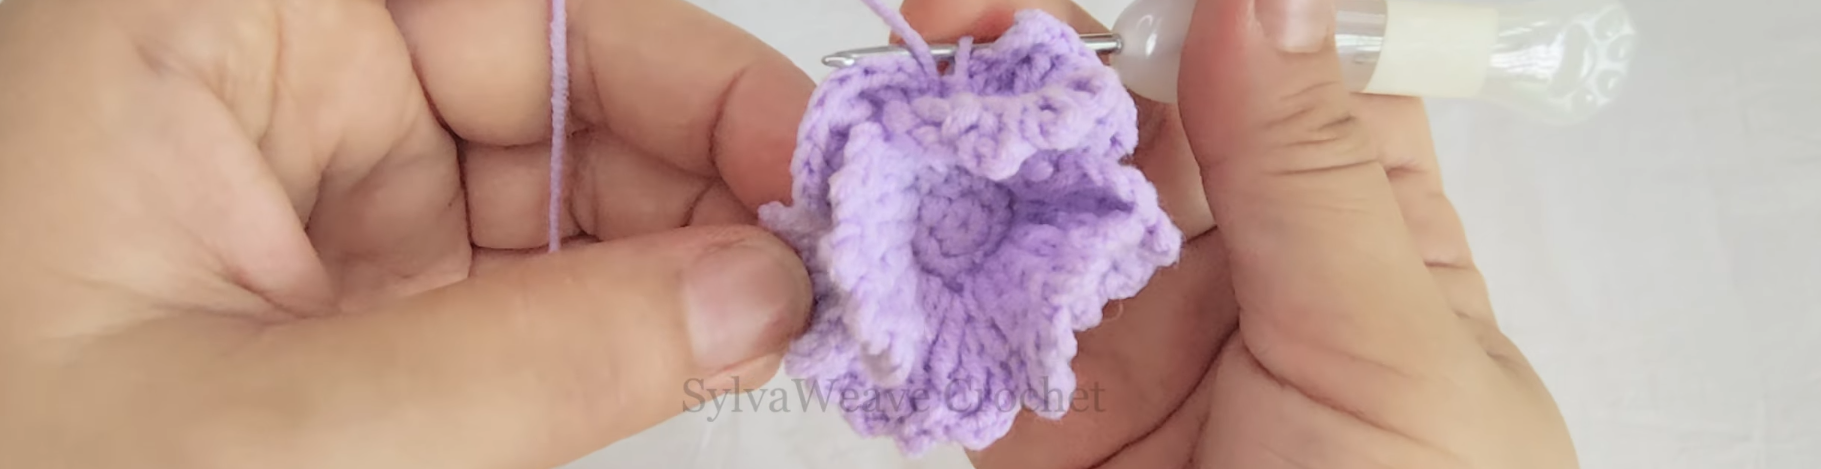
- Round 7: {Ch 3, sl st in top of ch-4, ch 2, {dc inc} x 2, sc, {dc inc} x 2, ch 2, sl st in top of ch-4, ch 3, sl st} x 5.
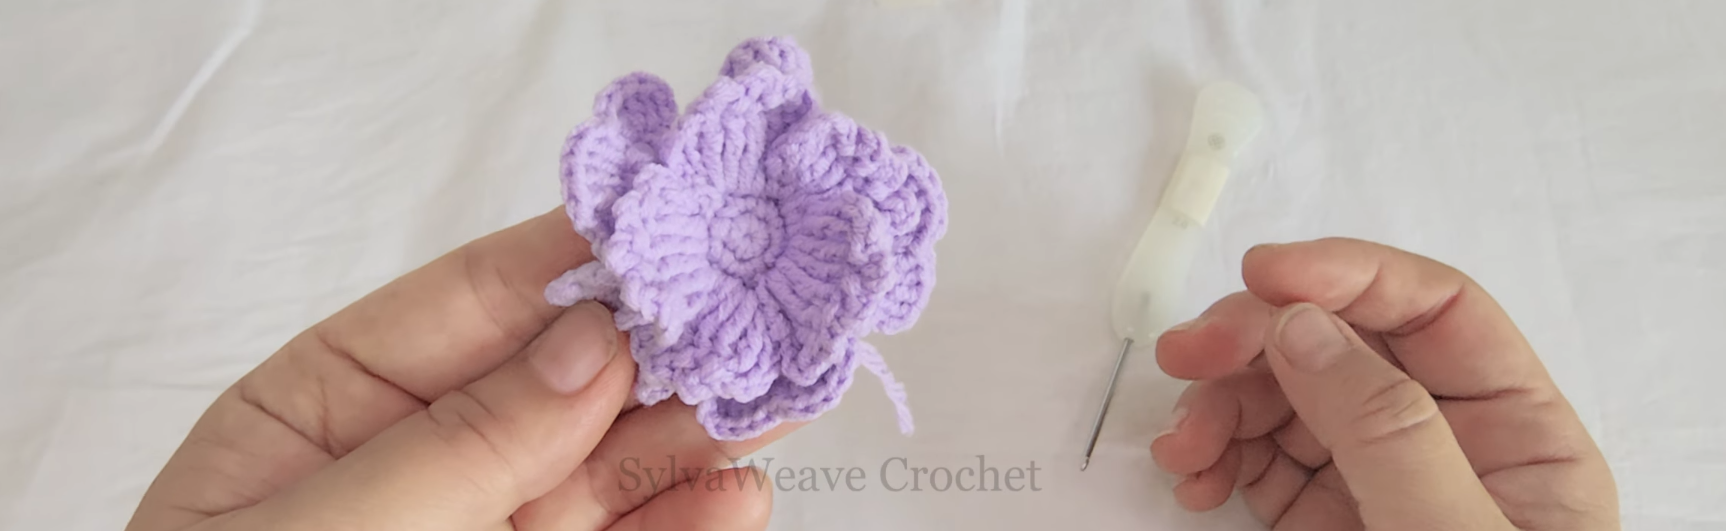
Crochet the Flower Center – Make 1
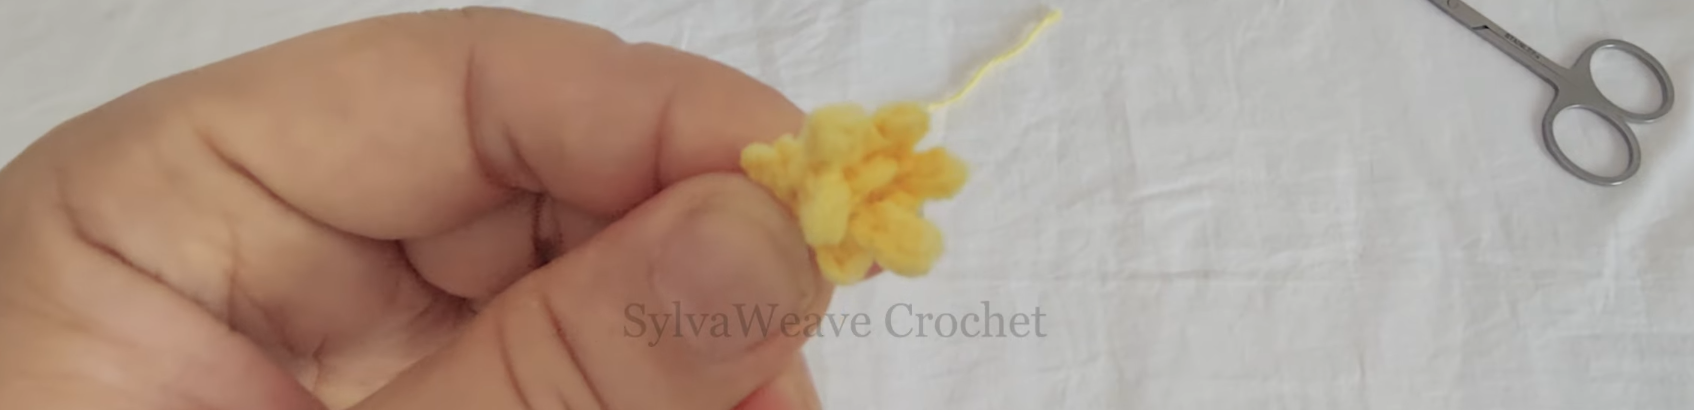
Round 1: {Ch 3, starting from the second ch from hook: 2 sl st} x 6-8. FO and leave a tail. Roll tightly to form the flower center.
Crochet the Flower Base – Make 1
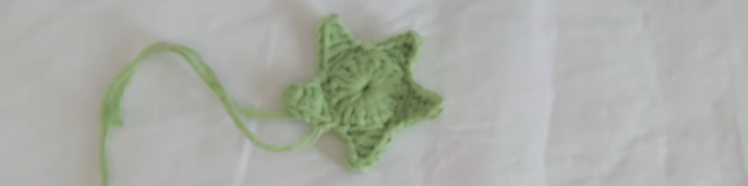
- Round 1: MR, 14 dc in MR, sl st. (14)
- Round 2: {Ch 5, starting from the second ch from hook: 2 sc, hdc, dc, sk 2, sl st} x 5.
Crochet the Ranunculus Leaf – Make 1
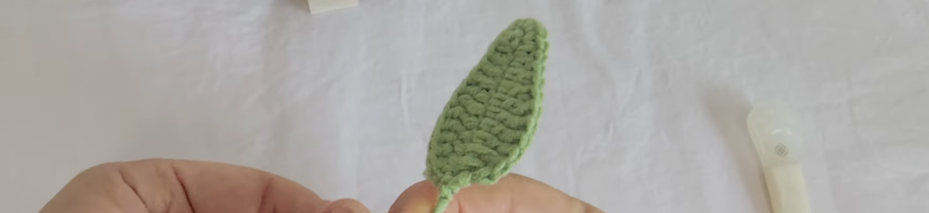
Round 1: Ch 16 and add wire. Starting from the fourth ch from hook: 2 dc, 4 tr, 2 dc, hdc, sc, 3 sc in the last st. Work along the opposite side: sc, hdc, 2 dc, 4 tr, 2 dc, sl st. FO.
How to Assemble the Crochet Butterfly Ranunculus
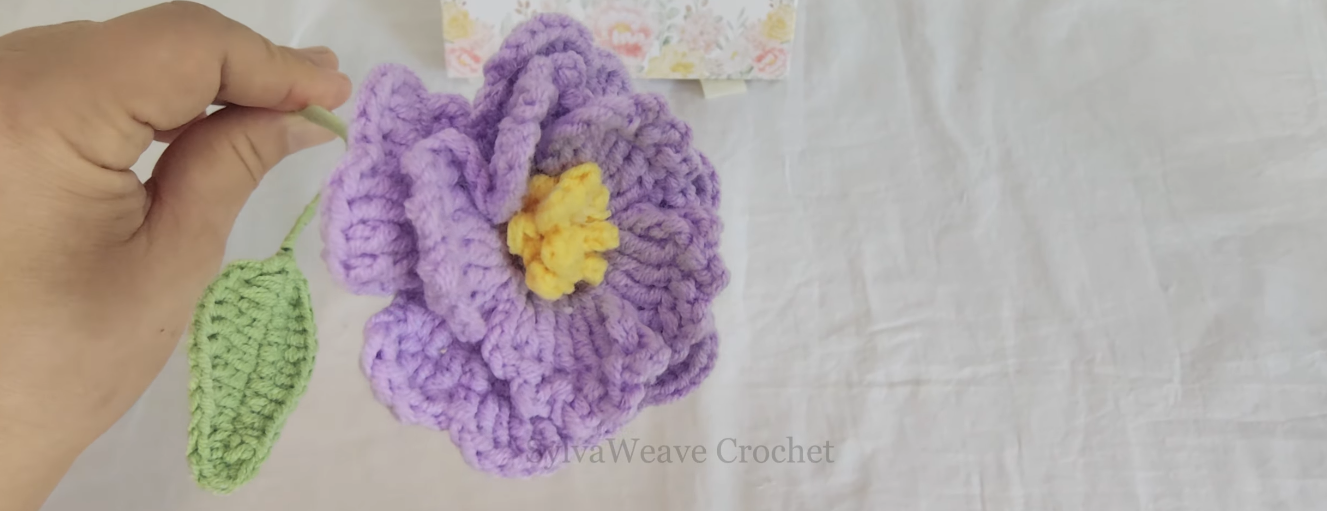
- Attach the flower center to the top of the flower stem.
- Attach the petals and flower base. Wrap the stem with green yarn and secure it.
- Add the leaf, continue wrapping with green yarn, and secure the yarn with glue.
Share Your Creation
We would love to see your Butterfly Ranunculus. Share your finished flower on Instagram and tag @SylvaWeave.crochet.
More Free Crochet Flower Patterns
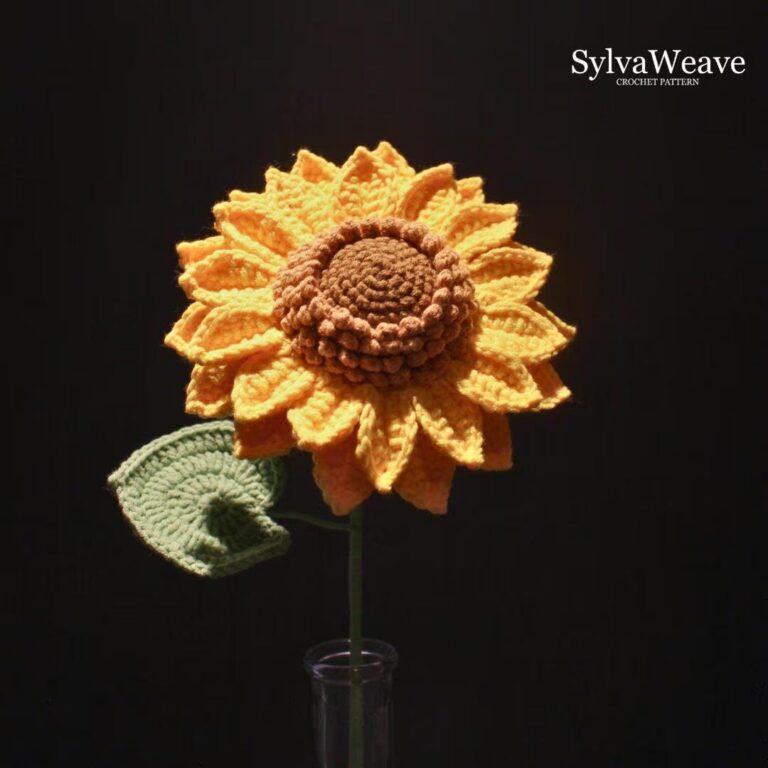
Continue your handmade bouquet with our Free Sunflower Crochet Pattern with Two Layers, including written instructions and video tutorials.
Pattern use: This pattern is for personal use only. Please do not copy, sell, share, or redistribute the pattern in any form. You may sell finished items made from this pattern if you credit SylvaWeave as the pattern designer.
6 Comments
Comments are closed.